It happened a couple of months ago. After another ever too frequent “clothes avalanche” it was time - the time had come to clean out my stack of t-shirts. Now most of these shirts had accumulated over the years. College events, special trips and other significant memories were tied to each. The thought of pitching or making rags of dandy shirts such as “Vote Lawson” or “Top Ten Reasons to be a Girl on Neil Avenue” was too terrifying. So I got the scissors and began chopping.
This, too, was a difficult task. I had been thinking about a t-shirt quilt for a while, but doubted I would ever find the time. Now, with my precious memory making tees cut into squares and never to be worn again, I knew it would be the biggest disservice ever to leave them in a bag collecting dust.
Flash forward to January 2011. The cut up shirts were still sitting in the bag, not tended to over Christmas break as planned. Suddenly, a gift! An email from my mom saying she wanted to pay me a visit! Perfecto! Not only do I love when my mom comes to Columbus, this time I had the perfect little project for us to work on! T-SHIRT TIMEEEEE!
I let Mom in on my plan and she agreed to help. She’s great at sewing, like many things, so I knew she and I could make this t-shirt quilt a reality! As planned, Mom arrived last Saturday with her iron, ironing board (two things I don’t own – but also learned Mom didn’t own until she was married! Like mother like daughter.), drill (for another project) and her over-night bag.
 |
| Mom is awesome! She whipped that machine right back into shape after I experienced turmoil a few weeks ago! |
 |
| Why am I so smiley? I have conquered the dreaded bobbin. And I can do it again! |
 |
| Before starting my quilt, I decided to practice. I made this little bag, which is great for keeping computer cords and phone chargers tucked away while traveling! |
Even though I had already cut my squares, they weren’t cut the same size. That was step one, sort of. Using an old calendar we cut the square to (mostly) the same size and got them laid out the way I wanted them to be stitched together. That was enough for the evening, so we went to Red Lobster!
 |
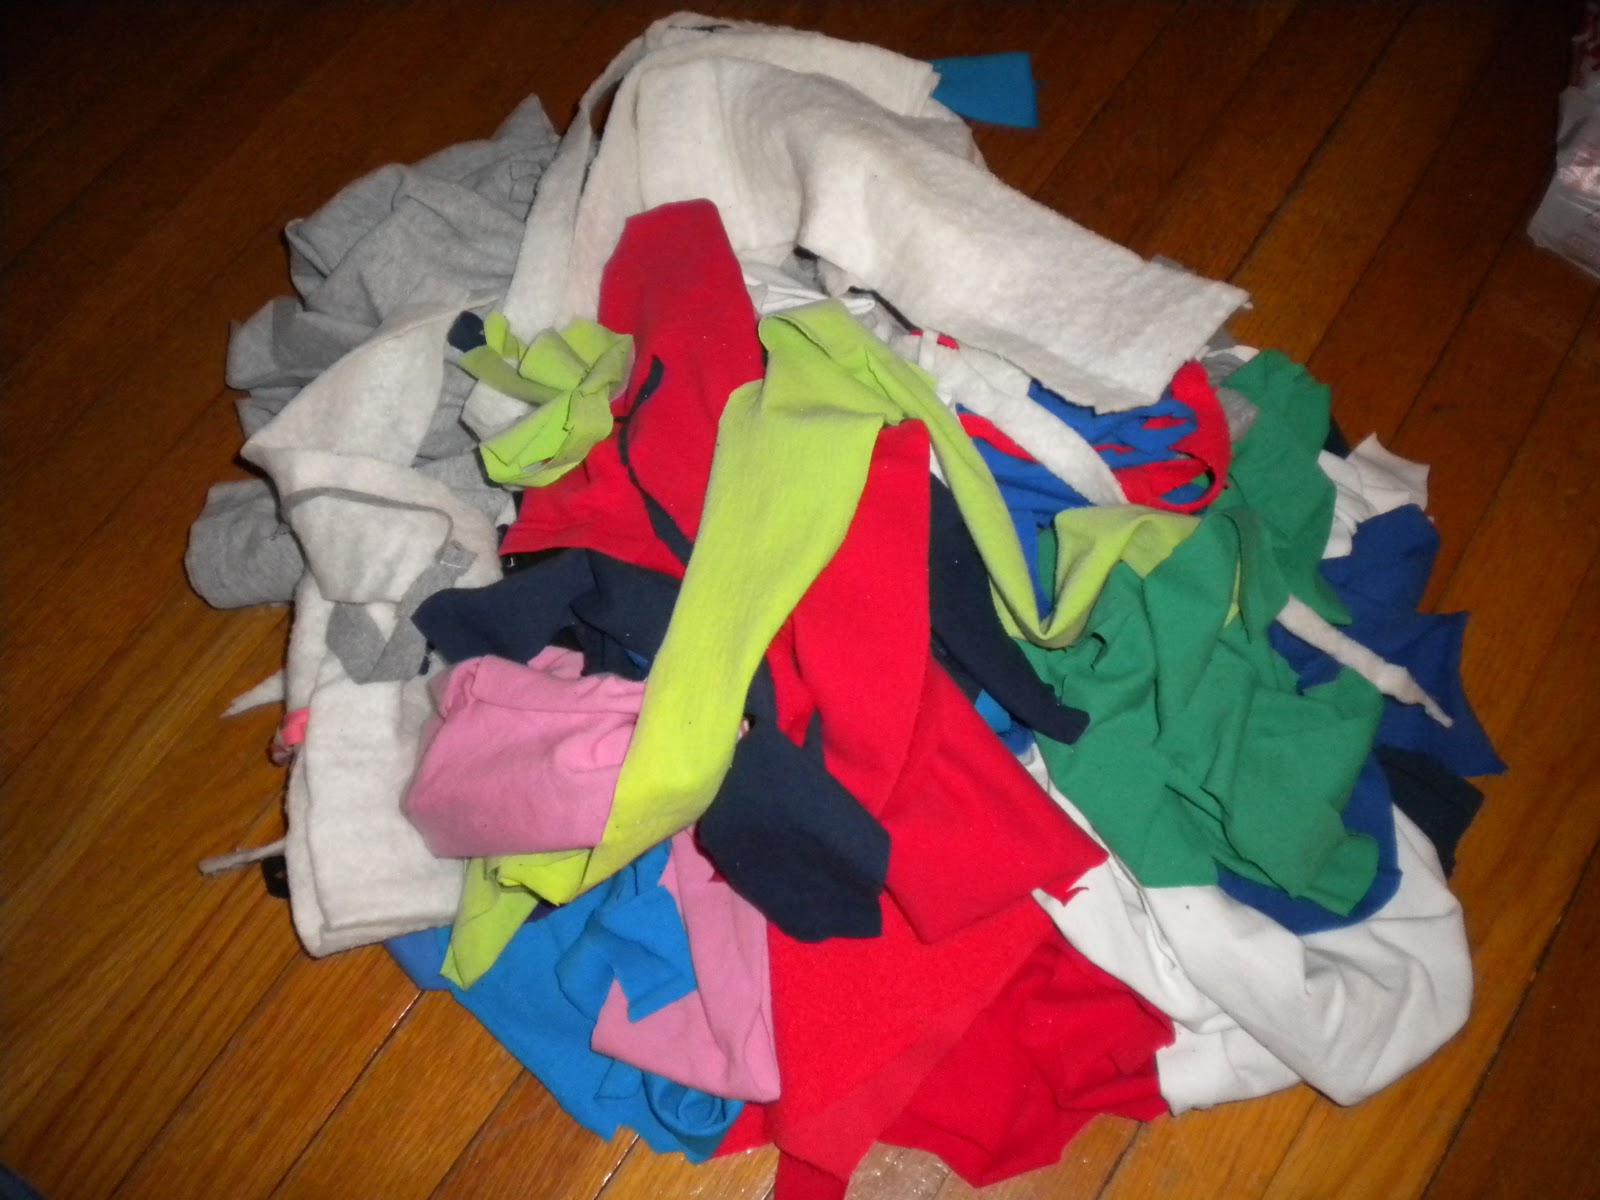
| Shirts, pre-proper cutting. AKA - Quilt phase 1. |
Day 2 – Mom wakes up earlier than me, of course, and begins the work of stitching. I wake from my slumber with excitement to get started. Long story short, sewing takes a long time, but we got all of the patches stitched. Now we needed more supplies so it was off to JoAnn’s for everything else.
 |
| Strips of shirts done. At this point, I was really starting to get excited about the progress! |
 |
| The top part is finished! Just a few more steps! |
JoAnn’s has lots of treasures, and everything we needed. I opted to get cotton stuffing over synthetic and fondly remembered my visits to the cotton fields of Virginia with Caryn and Joshy. Maybe some of that cotton made it to JoAnn’s in Columbus! I also selected a red and pink plaid for the backing.
 |
| Walking in high cotton in VA in 2009. |
 |
| Cotton from Virginia? IDK. Hope so! |
More stitching ensued and before 6 p.m. we were finished! As mom put it, “Well, it (the quilt) wouldn’t beat the old ladies at the fair, but it’s pretty good!” I couldn’t agree more – and after last year’s canning entry shame, I won’t be testing my skills against the fine ladies of the Brown County Fair anytime soon, haha. She also reminded me, “You know, people work on these things for months, right?” Oh yes, Mom, I know, but we’re not those other people!
 |
| This is posed, but definitely how I felt! |
Thank you, Mom, for all of your help on the quilt. I couldn’t and wouldn’t have done it without you! You are the best and I love you. And prepare for our next project – the ribbon quilt!
 |
| Mom takes a photo with her phone to show friends! |
Here are some tips, if you're planning to make a t-shirt quilt of your own:
1 – Don’t be afraid to cut up your favorite tees to be included. This way, you’ll have them forever!
2 – Make sure you take care when cutting, or you’ll have a situation like this: I had a shirt that said “If you don’t…” but the I was cut off, so it now reads, “f you don’t” – ha!
3 – Get real cotton stuffing instead of synthetic. Doesn’t it just sound better?
4 – Get a partner for the project! My mom not only provided great guidance and support, she also helped me keep my temper and frustration in check!
 |
| Must keep this safe. The key to bobbin success. |
 |
| Scraps = more space in closet. |
Cara, I'm actually undertaking one of these later this month with the help of my mom, too, so I loved seeing this post! You gave me some great ideas about how to proceed, because of course I have no idea.
ReplyDeleteLooking forward to more amusing posts from you - I'll be checking back often.
I'm inspired. I, too, have tons of shirts. Can you tell me more about how you stiched the shirts together? Did you go around the edges first to keep them unrolled, or did you just stich shirt to shirt? Thanks!
ReplyDeleteMarlene - Thanks! I know you'll have a great time with your mom on the project.
ReplyDeleteRose - Yes! I should have included more on the stitching process. I sewed the shirts in rows until there were five separate pieces. Then I sewed each of the five strips together until they were one piece. I didn't go around the edges until I pieced the back and batting, which I sewed all at once.